
This post may contain affiliate links. Please read our disclosure policy.
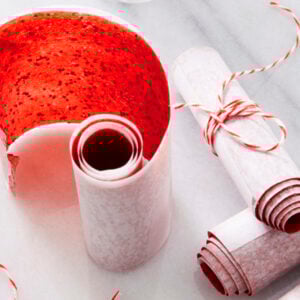
Making Strawberry Fruit Leather in the Dehydrator couldn’t be any easier, and it’s the perfect use for summer strawberries!
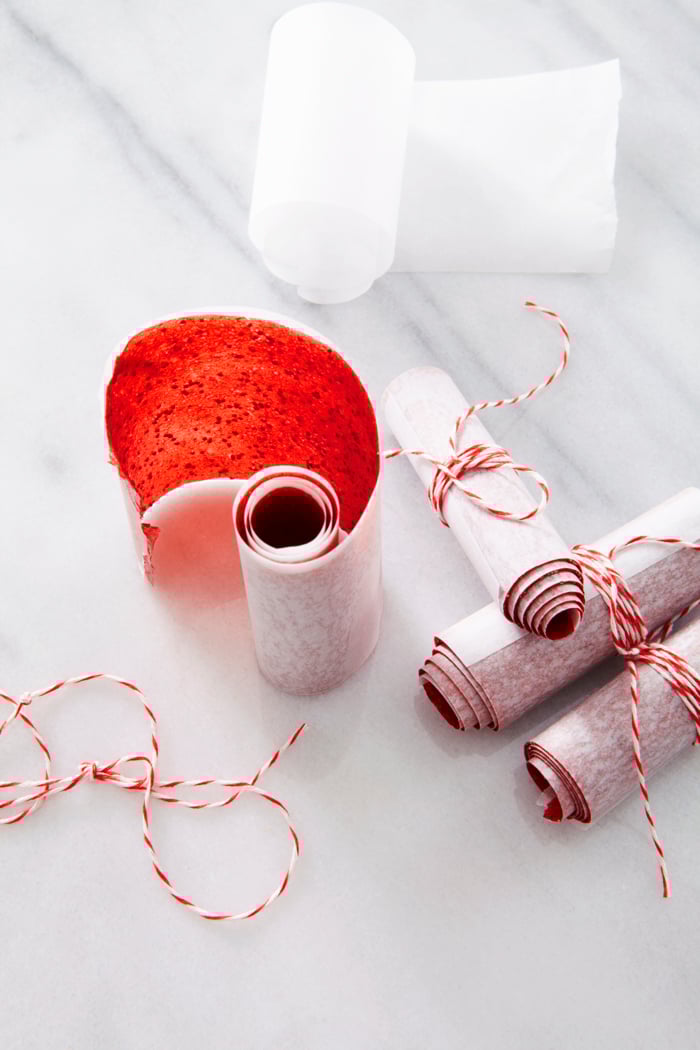
Table of Contents
Why I Love This Recipe
- Simple and Versatile: You can turn almost any fruit into delicious fruit leather. While we love experimenting with different flavors, Strawberry Fruit Leather is a classic favorite in our kitchen.
- Naturally Sweet: Made with fresh summer strawberries and a touch of honey or agave, this recipe creates a naturally sweet snack that’s far healthier than store-bought fruit roll ups that are loaded with sugar.
- Great for Using Seasonal Fruit: This recipe is a perfect way to use up extra seasonal fruit and reduce food waste while making something your kids will love.
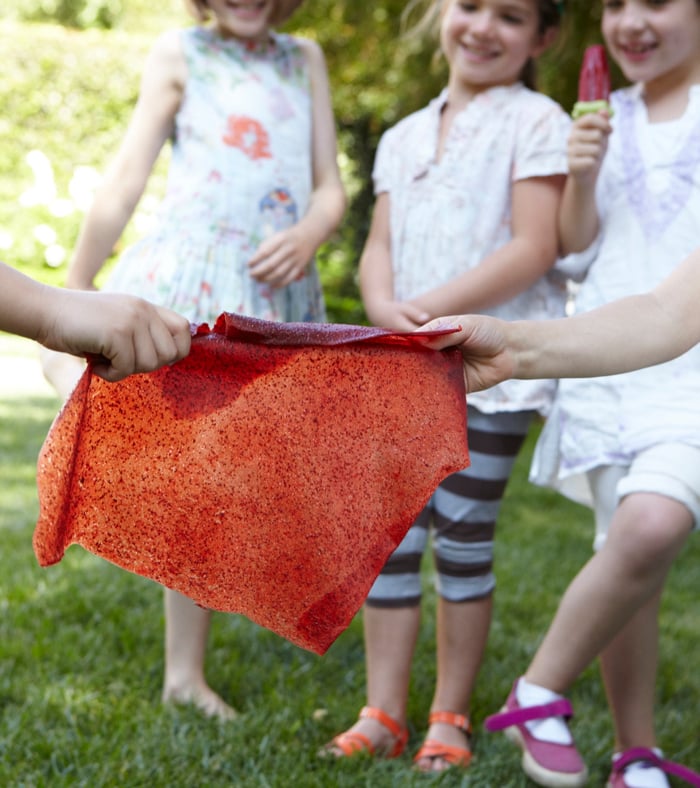
- Kid-Approved: My kids love the fun, strip-form presentation of homemade fruit leather, and I feel good knowing it’s made from simple, wholesome ingredients.
- Endless Flavor Options: If strawberries aren’t available, you can easily switch it up with other fruits and make Peach Fruit Leather, Persimmon Fruit Leather, or Pineapple Fruit Leather. The possibilities are endless, and each variation makes for a delicious, on-the-go snack!
The Ingredients
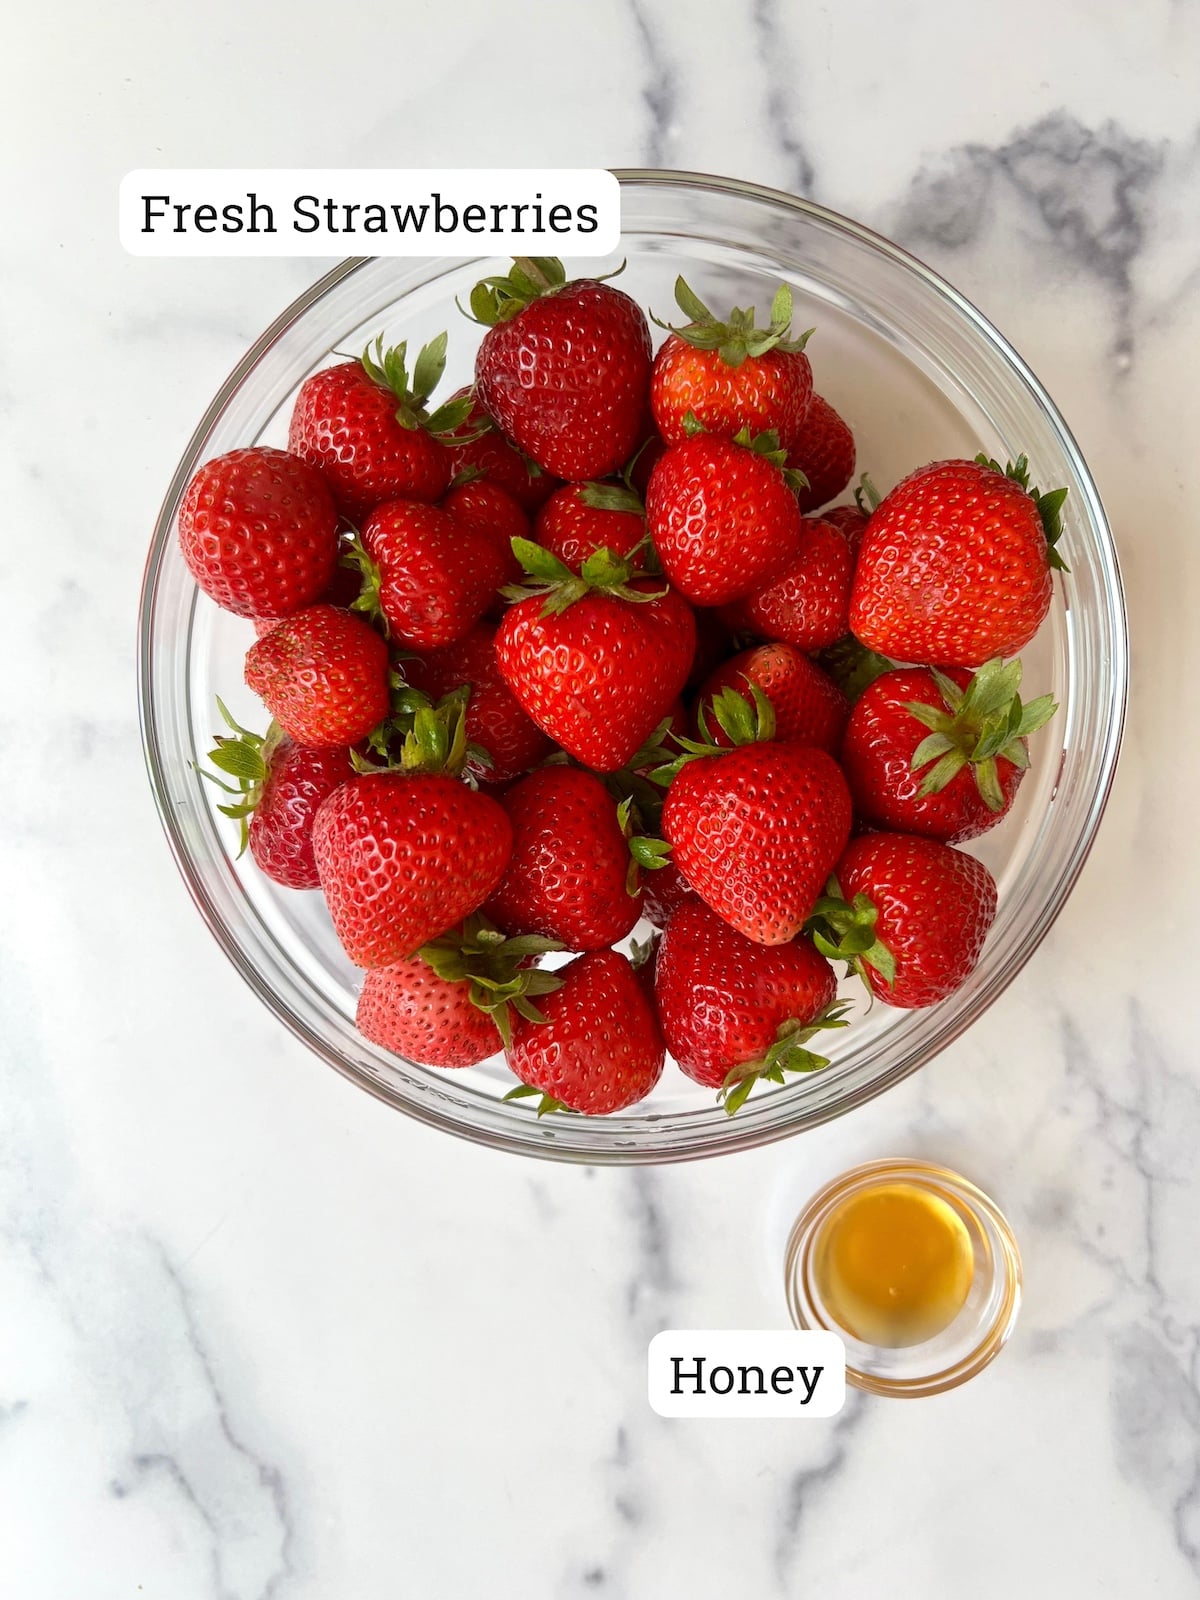
- Fresh Strawberries: The more ripe the berries, the more naturally sweet they’ll be. I often use strawberries that are about to go bad so that we minimize food waste!
- Honey: Having additional sweetener is optional. If you feel your strawberries are sweet enough, leave it out. You could also use agave instead of honey if that’s what you prefer!
How to Make Strawberry Fruit Leather in Dehydrator
This strawberry fruit leather recipe is made in a countertop dehydrator. If you’re going to be making fruit leather often, a dehydrator is worth the investment. It prevents the need to turn on your oven, and you can set it and forget it for several hours. If you don’t have a dehydrator, here’s a recipe post on how to make strawberry fruit leather in the oven!
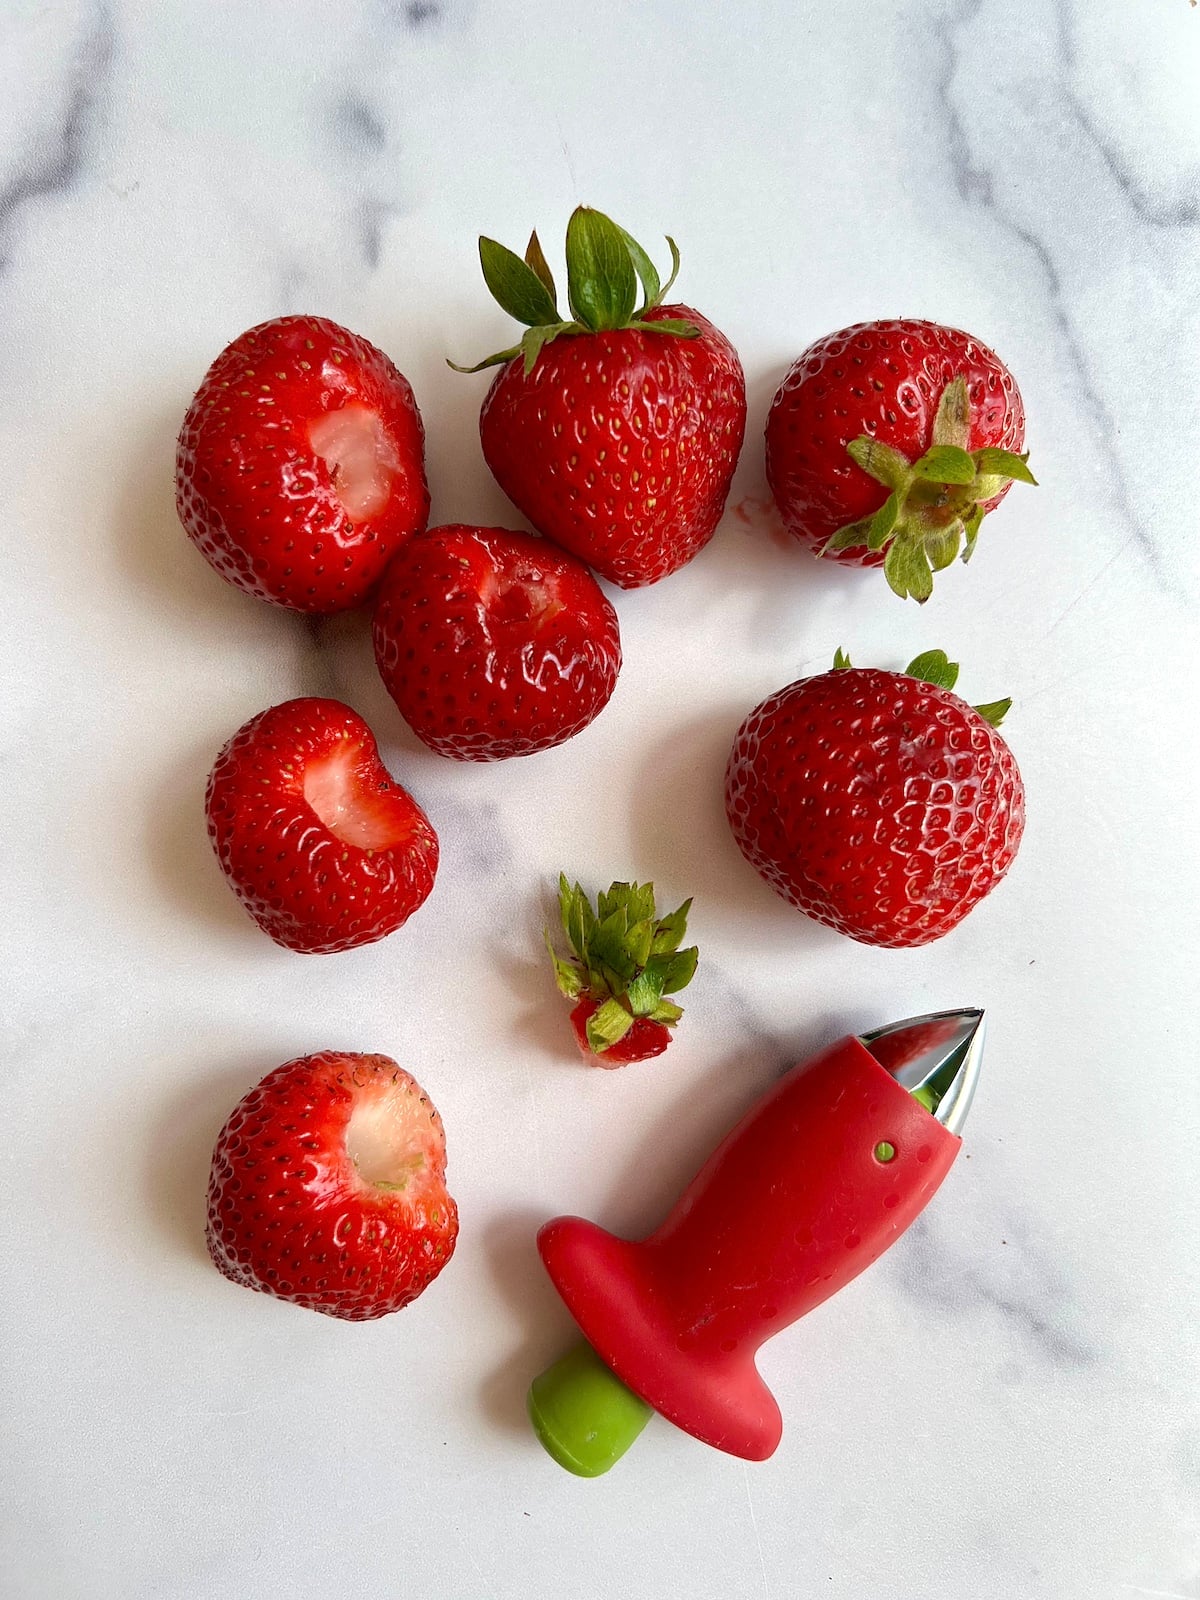
Step 1: Prep the strawberries by washing and remove the stems. I used this strawberry huller!
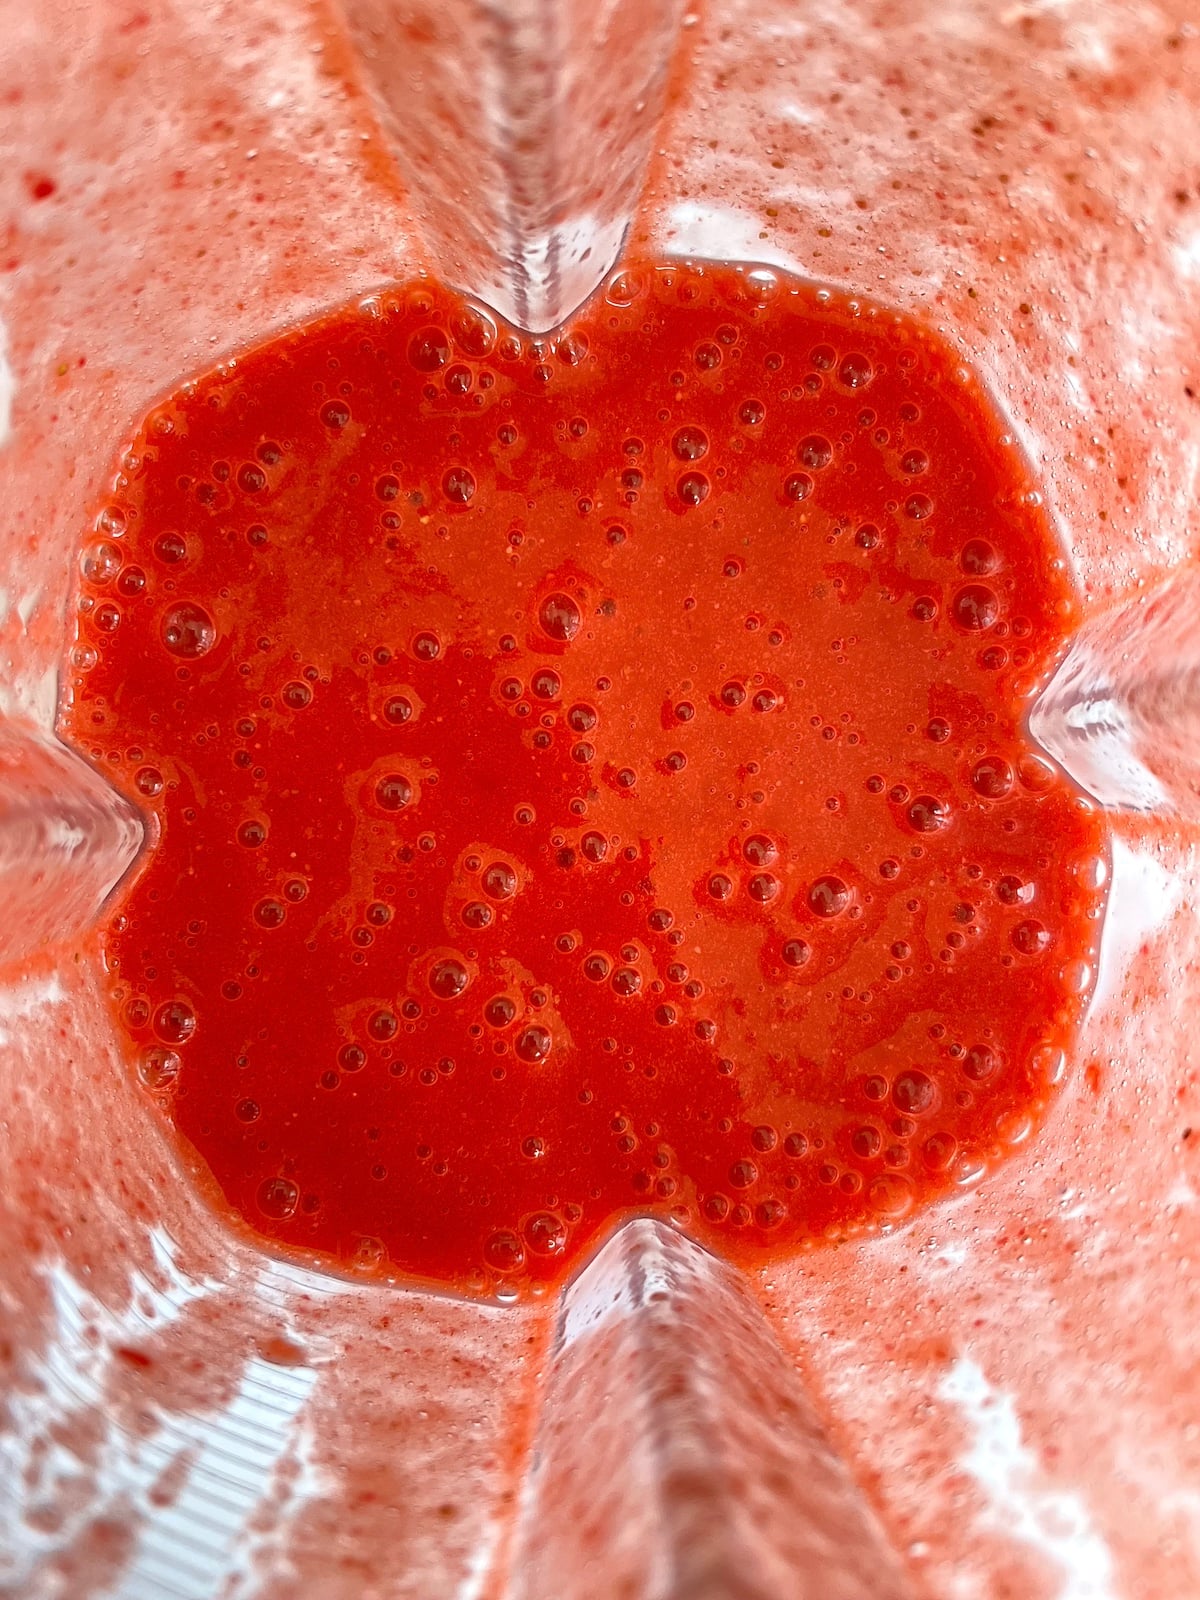
Step 2: Place the strawberries in a blender or food processor. Drizzle a bit of honey or agave if you want to sweeten them up a bit. This is optional, and if your berries are very sweet, you can skip the additional sweetener. Blend until smooth.
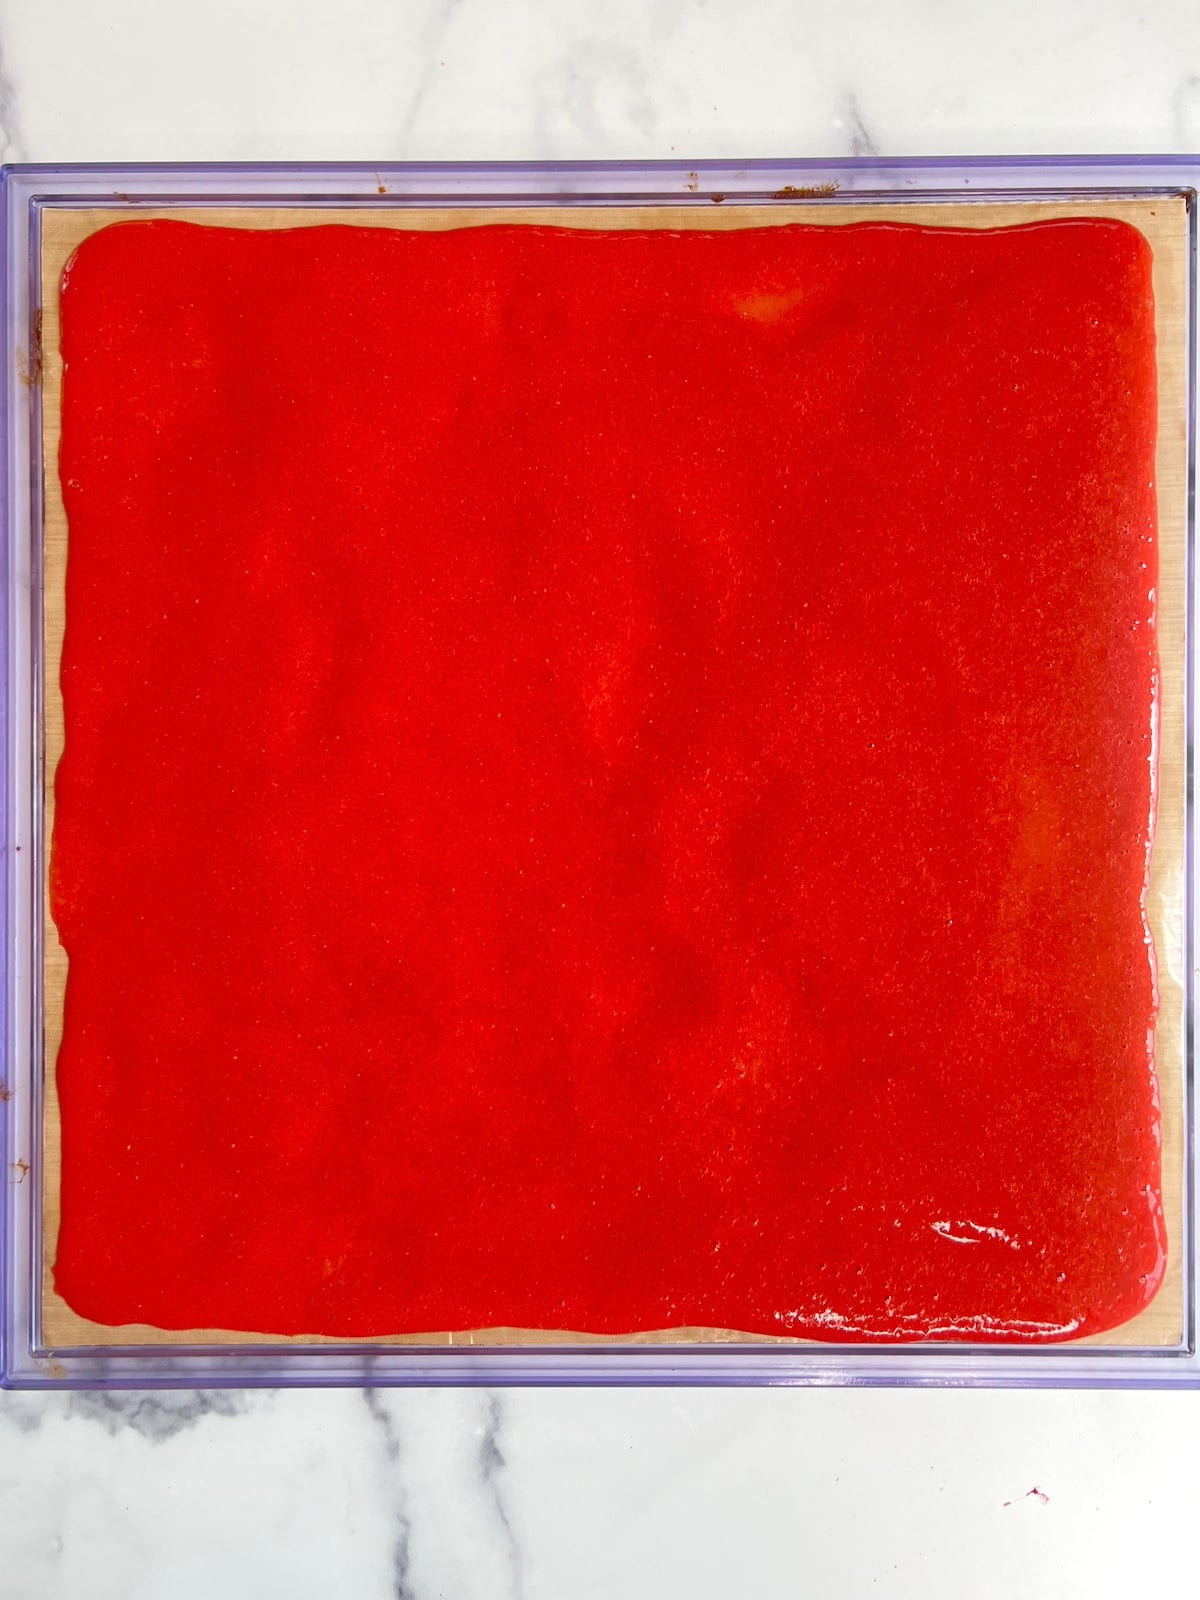
Step 3: Pour the strawberry puree onto a dehydrator sheet. Use a spoon or offset spatula to spread the mixture in a completely even layer. You don’t want the mixture to be too thin or too thick – this is where the experimenting comes in to play!
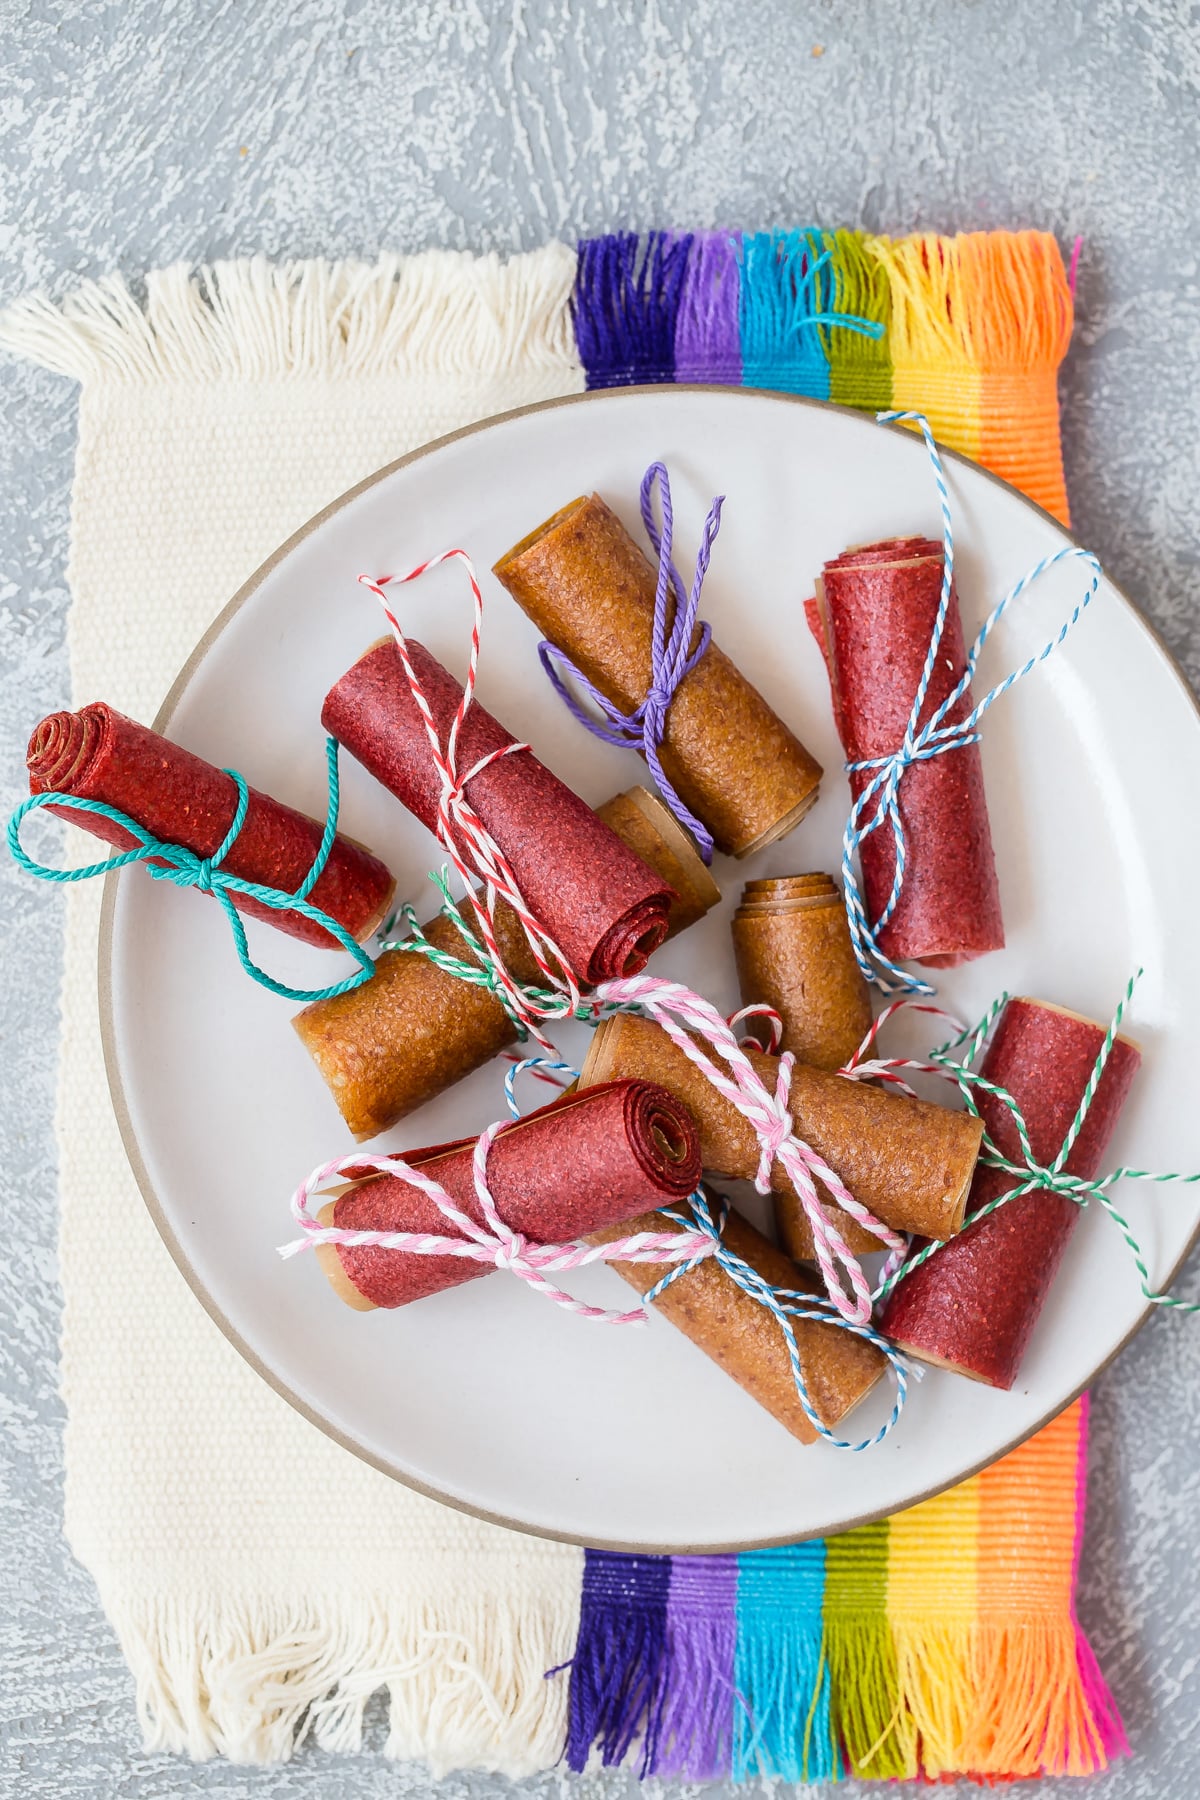
Step 4: Place the sheets in the dehydrator, set to 135°F for 3-4 hours, until the fruit leather is dry to the touch, and no longer sticky. Cut the fruit leather into strips and roll them up in parchment paper.
Tips for Making Homemade Strawberry Fruit Leather
- Storage: Fruit leather can be stored in an airtight container at room temperature for a few months, although ours are usually gone much faster than that!
- Use Ripe Strawberries: For the best flavor and natural sweetness, choose ripe strawberries. The riper the berries, the more vibrant and delicious your fruit leather will be.
- Spread Evenly: When spreading the strawberry puree onto the dehydrator trays, aim for an even thickness. This ensures consistent drying and prevents some areas from becoming too brittle while others stay too moist.
- Check for Doneness: Your fruit leather is ready when it’s no longer sticky to the touch and peels easily from the tray.
FAQs
Cracking can happen if the fruit leather is too dry. Next time, check for doneness earlier or spread the puree slightly thicker on the tray. Homemade fruit leather can be a bit of trial and error!
Absolutely! You can blend strawberries with other fruits like raspberries, blueberries, pineapple or peaches to create unique flavor combinations.
The drying time can vary depending on the thickness of the puree, the dehydrator you use and the settings you have it on. Typically, it takes anywhere from 3 to 5, sometime up to 8 hours at 135°F to achieve the perfect texture.
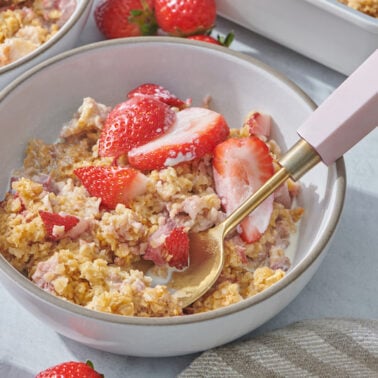
More Recipes Using Strawberries


Whip up this easy, healthy Strawberry Fruit Leather in your dehydrator for a snack that both kids and adults will love. Feel free to experiment with different fruits, and enjoy a treat that’s as fun to make as it is to eat! If you have any questions, leave a comment below!
Want more Weelicious? Subscribe to my newsletter and follow me on Instagram, Facebook, and TikTok for all the newest recipes!
Strawberry Fruit Leather – Dehydrator Method
Equipment
Ingredients
- 3 cups strawberries
- 1 tablespoon honey or agave, optional
Instructions
- Wash the strawberries and remove the stems.
- Place strawberries in a blender. Drizzle with honey or agave if you want to sweeten them up a bit. This is optional, and if your berries are very sweet, you can skip additional sweetener. Blend strawberries until smooth.
- Pour the strawberry puree onto a dehydrator sheet. Use a spoon or offset spatula to spread the mixture in a completely even layer. You don't want the mixture to be too thin or too thick – this is where the experimenting comes in to play!
- Place the sheets in the dehydrator set to 135°F for 3-4 hours, until the fruit leather is dry to the touch, and no longer sticky.
- Cut the fruit leather into strips and roll up in parchment paper. Fruit leather can be stored in at airtight container at room temperature for a few months, although ours never last that long!
Video
Notes
- Storage: Fruit leather can be stored in an airtight container at room temperature for a few months, although ours are usually gone much faster than that!
- Use Ripe Strawberries: For the best flavor and natural sweetness, choose ripe strawberries. The riper the berries, the more vibrant and delicious your fruit leather will be.
- Spread Evenly: When spreading the strawberry puree onto the dehydrator trays, aim for an even thickness. This ensures consistent drying and prevents some areas from becoming too brittle while others stay too moist.
- Check for Doneness: Your fruit leather is ready when it’s no longer sticky to the touch and peels easily from the tray.


I have a batch of this in the oven now. I added fresh guava to the strawberries! The liquid was delicious!! Can’t wait to see how it turns out. My entire apartment smells divine!
Question: Does this need to be stored in the refrigerator?
Thanks!
I love this. I’m trying it now 🙂 Can’t wait to eat some. I’m going to be pinning lots of your recipes. Thanks.
Oh no, Epic fail on my first attempt. I used thawed frozen strawberries and a couple fresh ones, and the whole thing burned to a crisp within 1.5 hrs. The kitchen smelled so good too!
So happy to find this recipe and you make it so simple and easy to do! I have never made my own fruit leather before but I am happy that I can do that now. Just think of all the chemicals you won’t be putting in your body by making your own!
[…] If you do not have a dehydrator, you can make the roll-ups in the oven by following Catherine McCord’s method on her blog, Weelicious (Click HERE). […]
[…] exactly common. So below is my attempt to recreate an oven-only recipe for Fruit Leathers from Weelicious (which, btw, is an awesome […]
I have been struggling to get apricot leather to work in my dehydrator. (I pureed apricots, honey, dates and water) I had no problem with raspberry, it was perfect, but the apricot sticks to the parchment paper each time. Any ideas?
So I’ve now made this recipe 3 times, have finally figured out how to make a perfect batch with my oven, and my 5-yr old tells me “I only like them a little, don’t make them anymore!” Turns out he doesn’t care for the bumpy bits (strawberry seeds). Grrr… back to the drawing board to figure out how to either strain out the seeds or what other berries to use (I include applesauce in my version).
Made one batch using parchment paper and one batch on silpat. The silpat worked PERFECTLY. The parchment permamently stuck and only after dampening the paper was I able to scrape any fruit off. Read somewhere else that leathers work best on silpat or plastic wrap (it won’t melt at low temps), but for parchment, the paper needs to be well oiled first.
If it is still liquid or mushy underneath the top layer then it isn’t finished yet! Also try spreading it more evenly. Isn’t experimenting fun?!
I’m on my fifth batch & you are right – they all turn out a bit differently. I’m wondering though, if I should take it out of the oven when it is not “wet” or sticky even if I can still feel liquid underneath the top layer? Will it harden up out of the oven? There seem to be big pockets of “wetness” underneath the top layer.
Oh No! Fruit leather can be a little tricky, and it takes some getting used to. Did you make them in the oven or the dehydrator? How long did you let it cook? How thick was your layer of puree? It should be fairly thin, but not see-through.
Well, my first try resulted in a batch burned around the edge, about 4 inches, and the center still almost liquid under the surface skin. Don’t think I’ll try this again…can’t afford to waste money on berries that end up going to waste.
[…] If you do not have a dehydrator, you can make the roll-ups in the oven by following Catherine McCord’s method on her blog, Weelicious (Click HERE). […]
That would be so cute!
i cant wait to try this was thinking tho what about if you used cookie cutters on it rather then just strips?